Kurzweil K2000R Display Upgrade
The displays in the Kurzweil K2000 and K2000R use an electroluminescent (EL) back light which fades out with time making the display very hard to read. While new back light panels are available they too will in time fade. For about the same price as a new EL panel you can purchase a whole new display which has a blue LED back light which is brighter and will not fade out like an EL panel. As a bonus you will no longer need the high voltage power supply for the EL panel and it can be removed which eliminates the high pitched whine that the EL power supply makes. The major challenge is doing the display swap is that the new LED display is slightly thicker and you will need to modify the K200R chassis slightly to make the display fit properly. The display that I used in this conversion was obtained from John Ramsey
There is a PDF version of this web page that you can download.
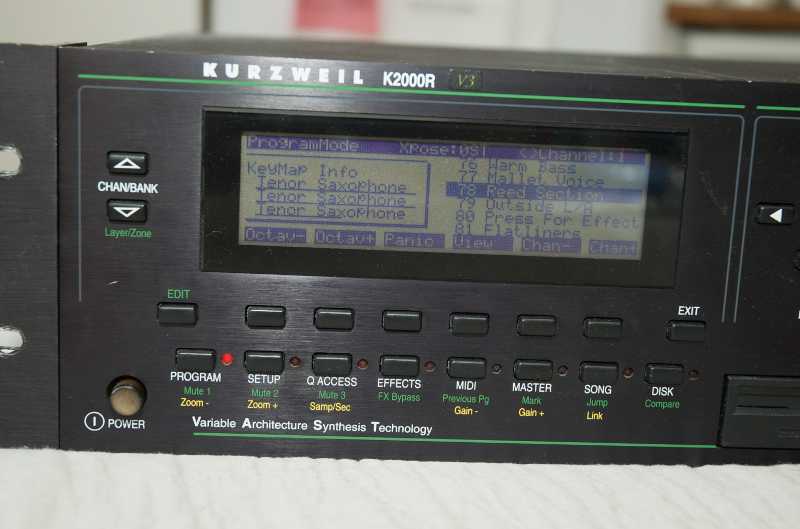
Back light is totally dead. You need to have bright lighting to read the old display. Not nice.
Unplug your synth before starting!
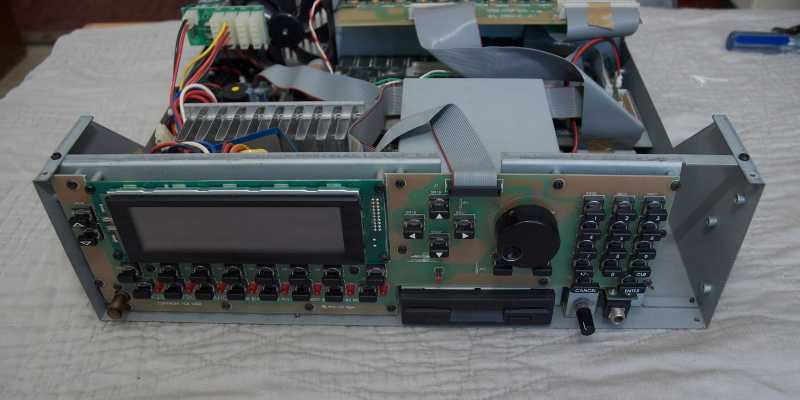
Start by removing the 10 screws that attach the rack ears and top cover and remove the top cover. Remove the nut from the headphone jack, the volume control knob and the 6 front panel screws (2 top and 4 bottom) and pull off the front panel.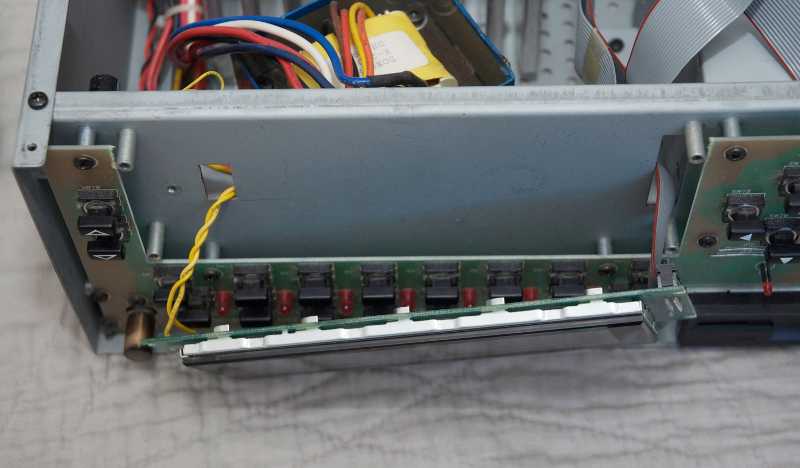
Remove the 4 screws that hold the display to the sub frame and pull the display forward.
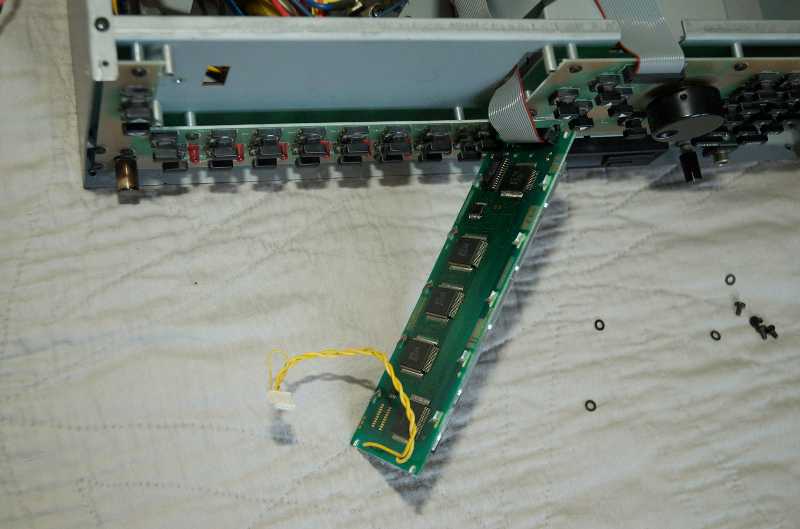
Follow the yellow EL wires back to the EL power supply on the back of the sub frame and unplug the connector from the power supply. If the ribbon cable unplugs carefully remove it from the display. If the cable is soldered to the display follow it back and unplug it from the circuit board. Remember where it plugs in.
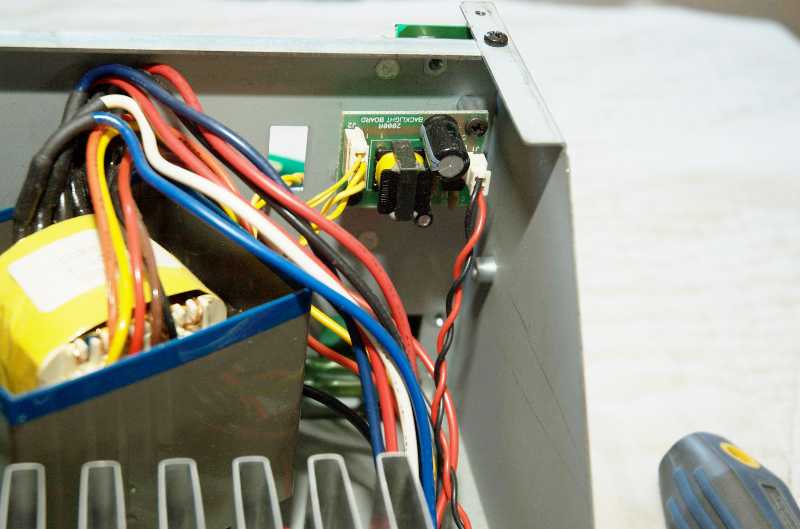
Unplug the red and black wire connector from the EL power supply. Remove the 2 screws holding the EL power supply to the sub frame and remove the EL power supply.

The red and black wires that supplied power to the EL power supply will be reused to power the LED back light on the new display.
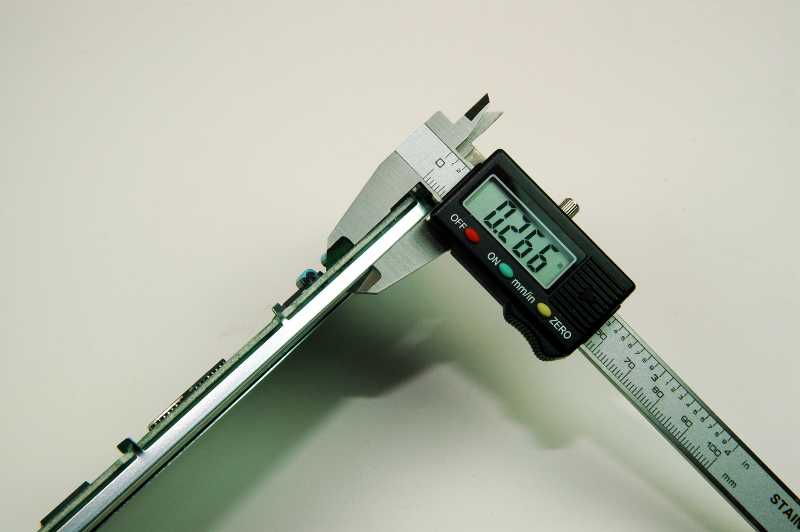
Measure the thickness of the old display from the back of the circuit board to the front of the display. Mine was about .265"
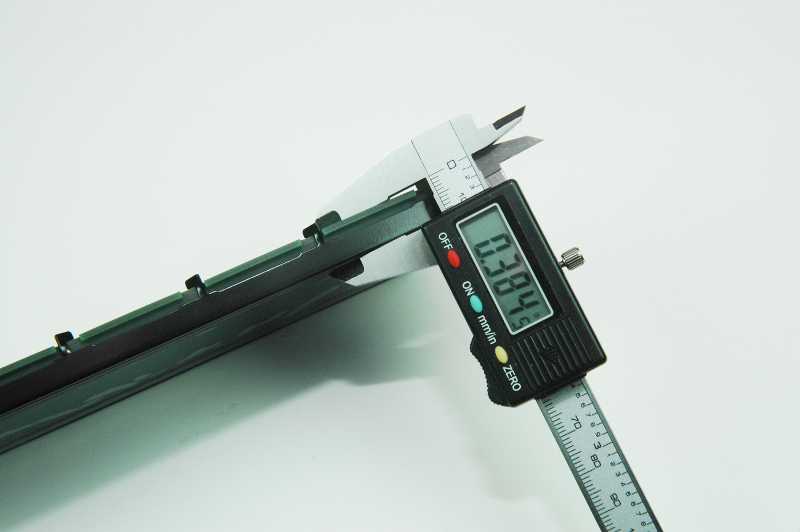
Measure the thickness of the new display from the back of the circuit board to the front of the display. Mine was about .385". Subtract the old dimension from the new dimension.
p>.385" - .265" = .12" which is about 1/8".You will need to remove this amount from the 4 display standoffs on the sub frame so that the face of the news display will be at the same position as the face of the old display.
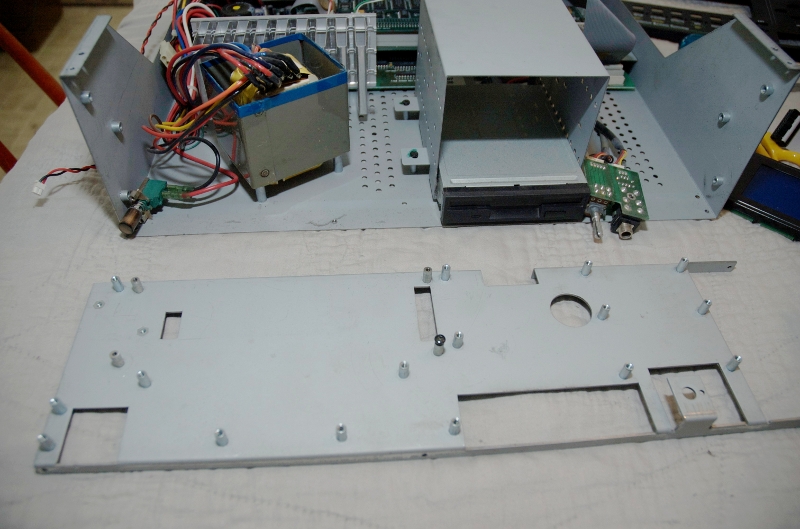
Loosen the set screw in the data entry knob and remove the knob. Remove the 18 screws that hold the button circuit board to the sub frame and move the board and the power switch out of the way. Remove the nut from the volume control and move the volume control/headphone jack board out of the way. Remove the 5 screws that attach the sub frame to the chassis and remove the sub frame.
Shorten the 4 display standoffs on the sub frame by 1/8". I used a milling machine but a file or a dremel would work too. If you are doing this by hand colour the material to be removed with a marker so that you can easily see when you have removed enough material. The standoffs in my machine had lots of thread left after shortening. Once done reinstall the sub frame, volume control/headphone jack board, button circuit board, data knob and power switch.
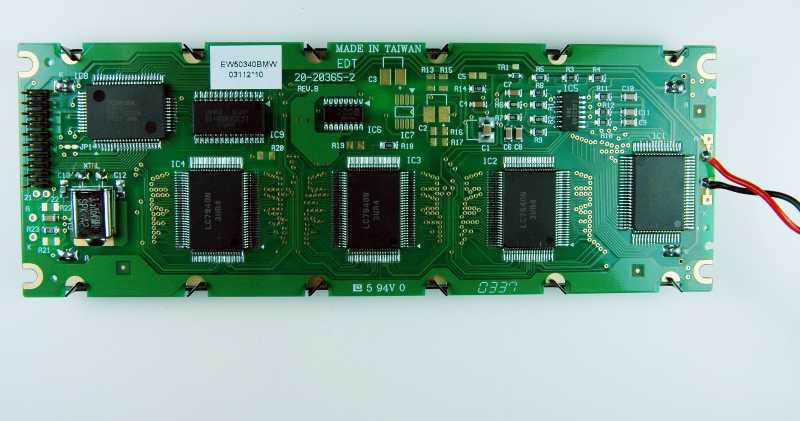
Solder a 20 pin header on the new display. If the display ribbon cable plugged onto the old display you can reuse the old cable. If the ribbon cable was soldered to the old display I would cut it off close to the board and install a new connector or get a new 20 pin ribbon cable with connectors on both ends. Desoldering and reusing the old cable is a last resort. Make sure that you solder the header on the back of the display and that the connector uses holes 1-20 on the display and that you leave holes 21 and 22 unused. Cut the plug off the red and black wires that used to go to the EL power supply. Leave as much length as possible as the wire is just long enough. Solder the wires to LED back light pads on the new display. The red wire goes to pad A and black wire to pad K. You can unplug the other end of the wire from the power supply board to make this easier. Remember where you unplugged it from.
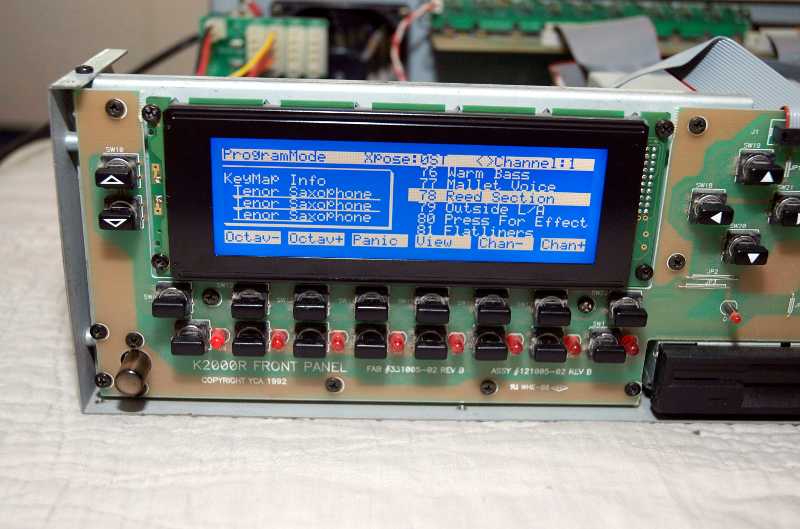
Plug the display cable onto the connector on the new display. Make sure the end of the cable with the red stripe goes to pin 1. Route the red/black wire through the hole in the sub frame and plug it into the connector on the power supply board. Attach the display to the sub frame with 4 screws and washers. Now plug in your synth, turn it on and see if the display works. Beautiful!
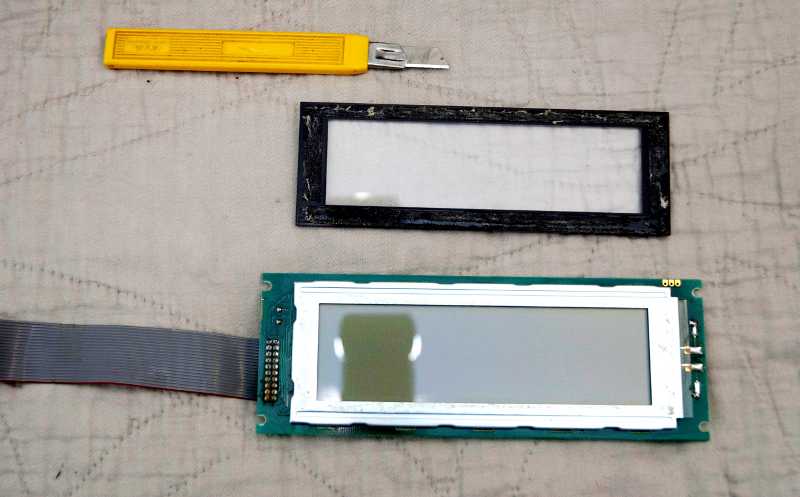
The plastic display cover is attached to the old display using double faced tape. Use a sharp utility knife between the display and the cover and carefully work your way around the display to separate the cover from the display. Be careful not to scratch or crack the cover. Once separated clean the old tape from the cover. This is not as daunting as it seems at first. Just go slow and easy. It only took me a couple of minutes to do.
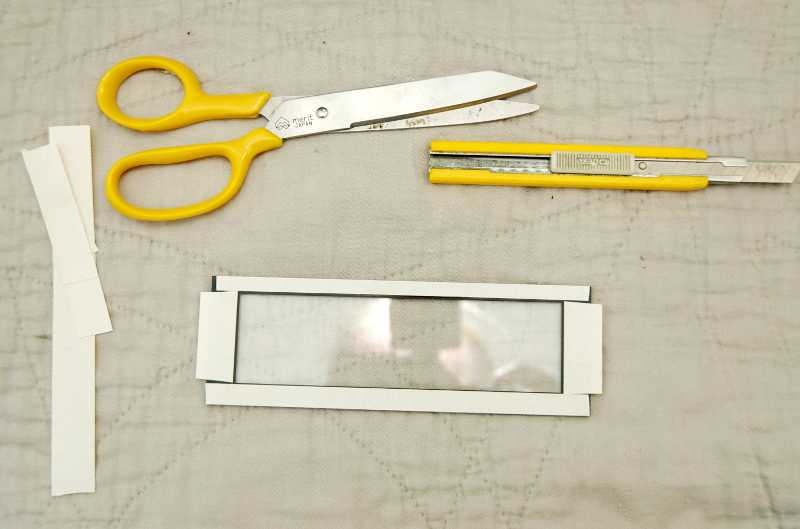
Install new double faced tape on the 4 edges of the display cover. Make sure that the tape is only on the black part of the cover. Install the K2000R front panel. Clean the back of the cover. Clean the face of the new display. Peel the mask from the double faced tape and using the cutout in the front panel to center it press the cover onto the new display. Don't press too hard. Finally install the top cover and rack ears and you are finished!
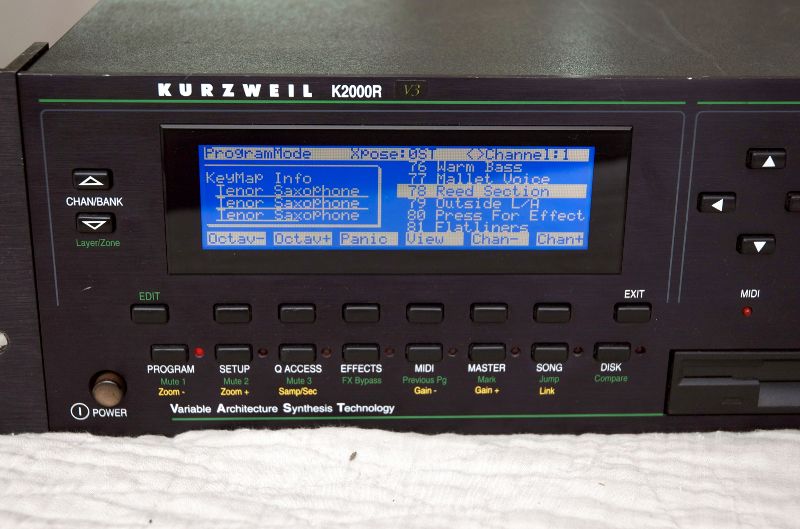
Well worth the trouble to do. It looks even better in a dark room. You could swap the red LEDS for blue LEDs if you want for an all blue look but I find them too bright and stayed with the original red LEDs.